Good Morning Sonible… Yes, I would love for you to help me pump out Cleaner Mixes!
I’m so glad more companies are adopting AI and developing tools to make mixing easier for everyone. Today, we look at Sonibles Pure Bundle.
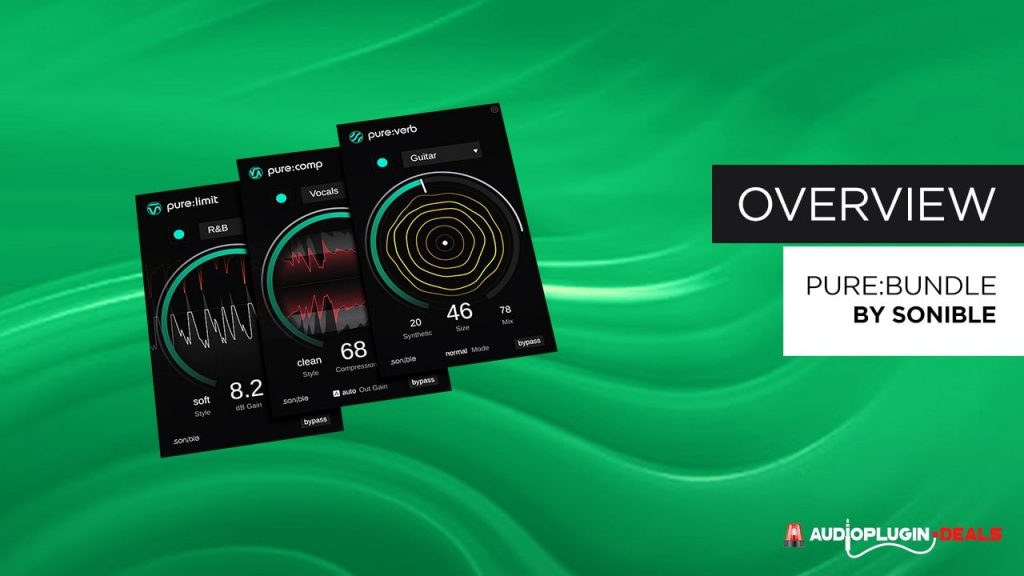
The Pure:Bundle contains slim versions of some of their flagship plugins and utilize Sonible’s smart plugin technology but with a focus on creator’s needs, allowing them to churn on better mixes quickly and more easily without needing technical know how.
The quality of your mixes will vary based on your source sounds and knowledge. These plugins assist and help you get into the ballpark.
Pick Up The Bundle Here
Plugins That Come In The Sonible Bundle
Pure:Comp: Reduces dynamic range and smoothens the level of recordings/elements within the song, making them easier to listen to.
Pure:Reverb: Excellent for creating a sense of space, adding realism to instruments, sounds, and overall music production.
Pure:Limiter: These are compressors on juice. They present audio signals from exceeding thresholds (specific levels) and come in handy when you want to avoid distortion or increase the overall volume of your mixes.
This is common knowledge to many and somewhat easy to understand, depending on your skill level. However, compression can be a very complex subject if you don’t understand it. Even with presets, it can be difficult to find a good starting point.
Don’t worry, that all changes right now.
What Pure Reverb, Limiter, and Comp Have In Common
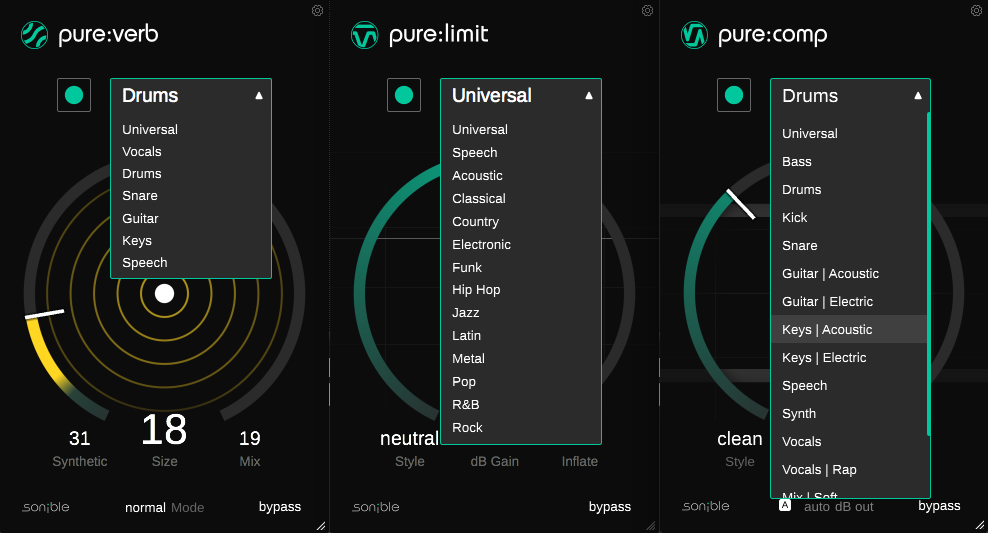
When looking at these units, you’ll notice they have a simple looking GUI (this is good) and a few common features. Let’s go over those and why they are important.
Profiles: Select the genre or instrument (sound) that best matches the character of your mix, needs, etc., from the dropdown. You can always start the learning process with “Universal” and switch to a more specific profile later.
There’s a soft menu pull down of multiple presets you can choose from to get you started. It’s set to Universal by default. The idea here is to choose the preset most aligned with your needs. Upon selecting a preset, you’ll notice some settings will change just with the genre selection.
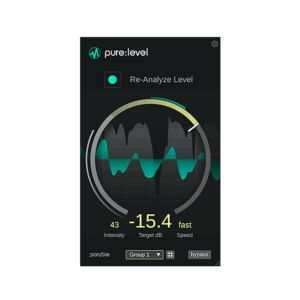
Record (Analysis): Here’s where the magic is. Choose a section of your song, put it in loop mode, hit play, and then record. The Pure Plugins will listen to your material and make suggestions based on the genre you’ve chosen and the material you’re feeding it (your looped selection).
I recommend capturing/analyzing a few different sections of the song to get an idea of what the software can do.
Finally, adjust the additional parameters to taste.
Okay, now let’s dive a little deeper into each individually.
Pure:Comp: Get Those Levels In Line
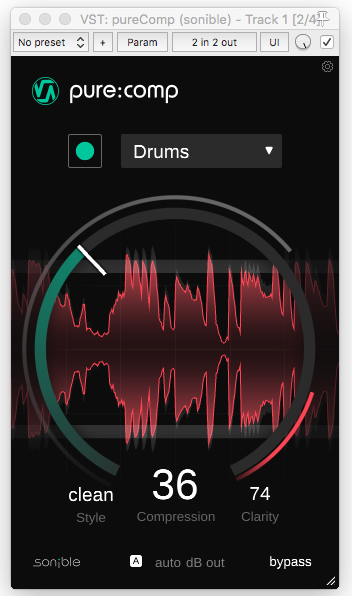
This compressor offers a few different compression styles. Each style caters to a different sound character.
Clean: As the name may suggest, it aims for clean compression. It would be ideal for material that requires a natural, transparent sound.
Dirty: This is the setting you’ll want to go to if you’re looking for a nice punchy (and warm) sound. This is really great for drums and percussion, as well as vocals and bass guitar. Really, anything you want to add a little character too.
Mixed: Finds a happy medium between Clean and Dirty (compression styles), giving you the best of both worlds.
If you have a lot of transient information you want to retain, I’d go for Dirty or Mix and dial in to taste.
Pure:Limit: We Like Things Loud!
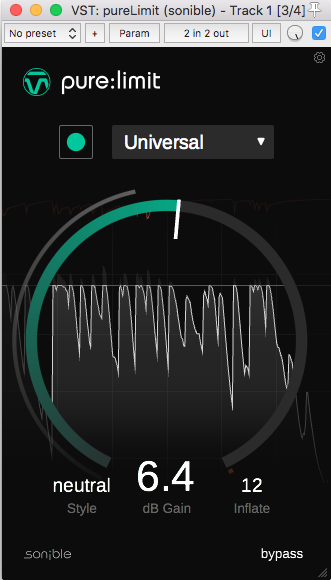
The style governs how hard the limiter works on the overall audio.
Soft: Aims to keep your overall sound natural and transparent, very similar to the compressor’s Clean setting.
Hard: Use this limiting style if you want tracks to have an aggressive character. It’s good for squashing sounds and making them sound dense.
Neutral: This is going to work well for most music needs. It’s a blend between Hard and Soft limiting styles.
Gain: Adjusts your overall gain. Think of it as your makeup gain.
Inflate: Add saturation to your audio signal. The more you inflate, the more saturation you get.
Pure:Reverb: Space Is Everything
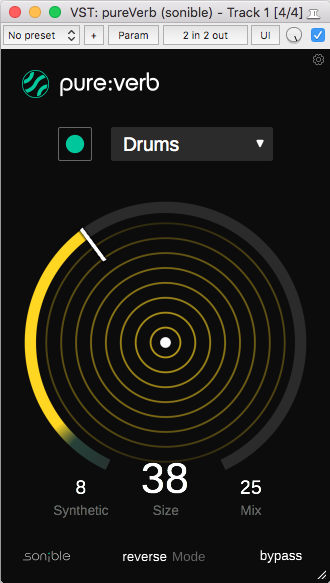
There are quite a few features here that are needed for getting the most from the Reverb and achieving a nice sound. Reverb with a lack of control can sound cheap and or washed. That’s not what we want when aiming for good production.
Synthetic: Use this to add character to your reverb,
The closer the value is to 0, the more natural the reverb will sound. Ideal for acoustic instruments or sounds where you want to retain their authentic nature/recording.
Pushing closer to 100 takes the reverb out of the typical room and adds some creative characteristics to the time based effect.
Reverb Modes
Normal: This is a typical everyday sounding reverb, ideal for putting your sound in a realistic setting.
Reverse: Does as it sounds, adds a reversed sounding effect to the reverb. I really like it on snares as well as in parallel mixed in gently (and automated) with the natural sounding reverb.
Infinite: If you want to create lush drones, this setting will do the trick. Place it on some pads and go to town. This is going to be my little go to for game drones and atmospheres.
Bounce: Creates rhythmic patterns when using large reverb settings (Space, Mix). I like to use this on synths and percussion elements.
Size: Controls the size of the reverb room. Clockwise increases the size, and counterclockwise reduces the size.
Mix: The mix knob is the classic dry/wet mix parameter. The more WET you introduce into a signal, the less dry signal you have. I like to start around 10% and then adjust accordingly.
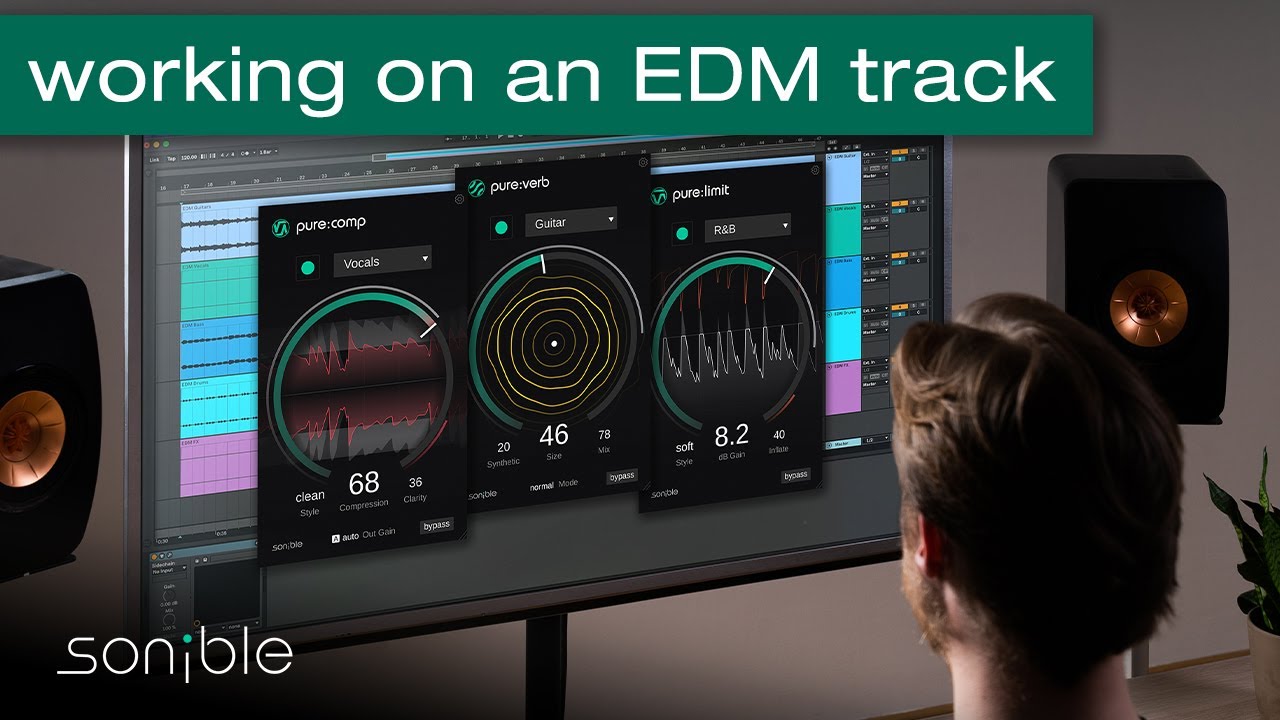
EDM Being Mixed With Pure Bundle
Closing Statements
Sonible did an amazing job with these plugins. They are great for adding final touches to your mix and or getting in the ballpark of a good mix, as mentioned above. They are also very handy when it comes to learning and experimenting. I love presets, but this gets you much closer, given the plugins generate settings based on your audio signal.
Pull them down and give them a go. I don’t think you’ll be disappointed.
