Most of us don’t have an extra $3K lying around to grab every plugin pushed and promoted by these big companies; Waves, FabFilter, or UAD makes.
All of their plugins are great and can be used to create a good vocal chain, but let’s be real… Trying out every single plugin out there is a bit time consuming.
So we’ve done t he work for you.
Here are some plugins you can use on the cheap to build a good sounding vocal chain
Let’s break it down.
Vocal Mix Chain
- EQ
- De-Esser
- Compressor
- Saturation / Harmonic Exciter
- Reverb
- Delay
Vocal Bus Chain
- EQ (gentle shaping)
- Compression (glue)
- Saturation (subtle warmth)
- Reverb (shared space)
- Limiter (light catch if needed)
Alight, now let me share some plugins that you can use to make this sound or more accurately, experiment with.
Step 1: Start With Gain Staging & Level Control
Before EQ or compression, you need to get your levels right. This best done recording on the way end.
Get the levels right, record it right, then do the rest with your native gain plugin packed in the DAW.
Step 2: EQ For Sculpting Your Sound
EQ is your tone shaper.
You won’t need a $200 EQ plugin to cut mud or tame highs. Again, here you can go with the stock. It’ll get the cleaning job done. Now, if you need color, that’s where a paid plugin will serve you well. I’d suggest going with something like the PSP E27 or IK’s EQ-81
Step 3: Compression – Glue & Control
Compression can be confusing to some. It’s an easy way to control dynamics, but also be used for color and tone.
Use your stock compressor for basic compression needed, to add color, use something like
Klanghelm DC8C ($30), CLA-76 or IK’s Classic Compressor. Works well on drums, vocals, or basslines. This compressor comes in a basic mixing bundle, well worth the money.
Step 4: Saturation & Color
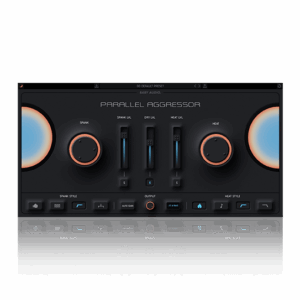
Saturation is one of those things effects that can be used to give vocals a little push. Some of them add warmth as well.
Here are a few Saturation plugins you can experiment with, they all do a good job.
Tape MELLO-FI by Arturia, Softube Saturation Knob or Fabfilter’s Saturn 2
Step 5: Reverb & Space
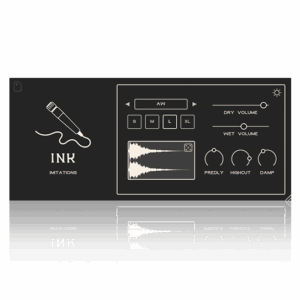
I used to think reverb was reverb. Meaning any reverb plugin would work and to an extent, this is true.
However, when you’re looking to take things up a notch, you start to care about reverb, features and what can be controlled. You want versatility!
Now, on a budget, I would suggest the following
Valhalla Supermassive is free, but look for deals on Pulsar Primavera Spring Reverb or IK Multimedia Fame Studio Reverb, both here on APD, and well worth the price tag.
Step 6: Delay for Movement
Delay adds groove and width.
Again, outside of the stock delay, check out something like Baby Audio Comeback Kid or Black Rooster Audio’s Reverb and Delay Bundle
Comes with a nice Tape Echo plugin in the bundle as well. I like using this on adlibs.
Step 7: Vocal Bus
A lot of people think a bus is only for mixing or mastering, but that’s not true. Every group of sounds should have its own bus. This saves processing power and helps “glue” everything together so your track feels cohesive.
That’s bus processing.
And no, you don’t need Ozone Advanced or some $300 plugin suite to do it. Most of the time, you’ll only need a handful of tools to process everything at once and keep things tight.
I’ll throw Reverb, EQ, Compression, Saturation, and sometimes a limiter on the bus… something simple like ONE by IK Multimedia. Honestly, you can use the same plugins you’re already using in your mix.
Conclusion
You don’t need a whole bunch of plugins. Go for the fancy 3rd party ones when you catch them on sale. Many have a good sound and easy to use (you only need a few)
Audio Plugin Deals makes this easy; weekly sales, bundles, and rewards mean you’re never paying full price for pro plugins.