No More Sidechaining, use This Simple Kick and Bass Technique instead.
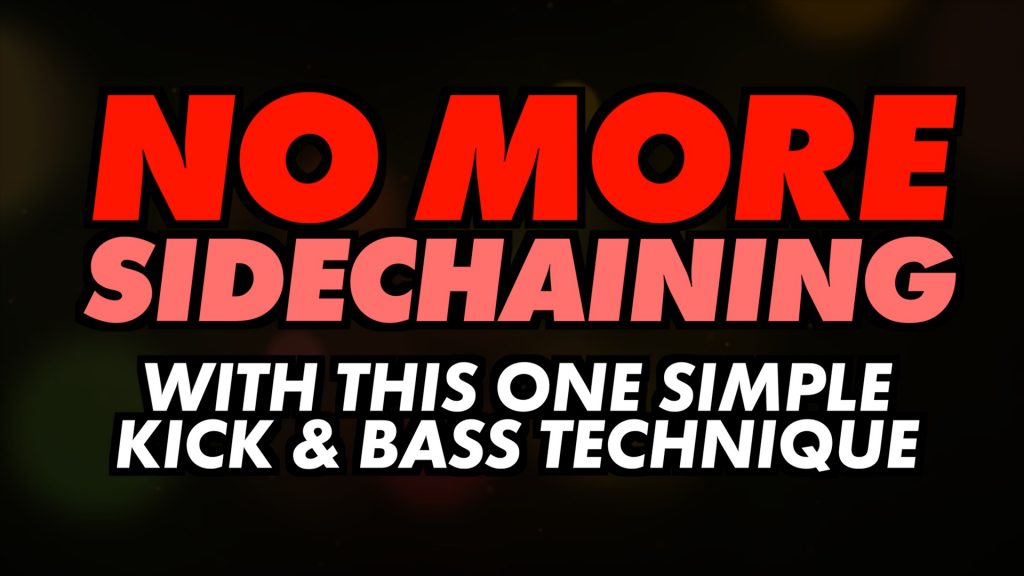
Here’s a really quick tip you can use to get your kick and bass playing nicely together. Sidechaining kick and bass for cleaning the event is ubiquitous knowledge in the music industry, but what if there is a quicker and easier way to get the same results?
So much time is spent on complex routing (depending on the daw) to stop the kick and bass from interfering with one another. A much easier way is to move the base a few milliseconds after the kick between 10 and 20ms is The Sweet Spot.
In most cases, the listener isn’t going to be able to tell the difference, but the result will be much cleaner with a more pronounced kick attack.
This can be accomplished in a number of ways.
- Sliding the bass (audio or midi) over a few milliseconds
- Using a Delay Plugin to offset the playtime
This isn’t to say that sidechaining doesn’t have its place; it obviously does. So, for those who are not privy to sidechaining, let’s dive into how it’s used and why it’s essential, and perhaps I can give you some other alternative options along the way.
What Is Compression And Why It’s Needed?
Compressors are simple mixing tools that keep your dynamic range a check. Dynamic range is another phrase for volume range or volume level. For example, let’s say you have an acoustic guitar or vocal recording, and the recording has low and high points in its volume.
The volume fluctuation is called the dynamic range and is governed by the performance of the talent.
Volume variation happens for a number of reasons.
- Moving while recording
- Breath control
- Being slightly off-axis (due to moving)
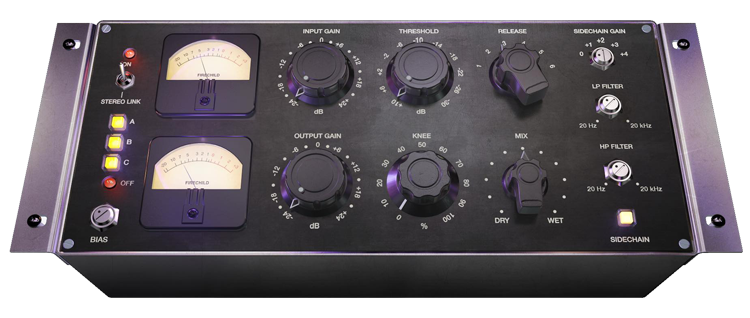
Whatever the case may be, the volume varies. The goal of compression is to make the recording more consistent in level (volume) by reducing the dynamic range and bringing the low and higher recorded parts closer together.
Using a compressor is relatively simple. First, choose the instrument you want to use compression on and load a compressor on the channel. From here, you have 3 settings to adjust, depending on the compression. Some have two, Input and Output. Others have more control: Attack, Threshold, Release, Input, Output, and so on.
Let’s focus on the most typical 3 settings
Threshold: Tells the compressor at what level to start compressing
Attack: The attack setting governs the amount of time it takes for the compressor to start reducing the sound’s volume once the threshold level has been crossed.
Release: The release time is the amount of time it takes for the compressor to stop reducing the sound’s volume.
These 3 parameters alone, depending on the type of compressor you’re using, will allow you to control not only dynamics but the actual shape and tone of your music.
What Is Sidechain Compression and How Is it Different?
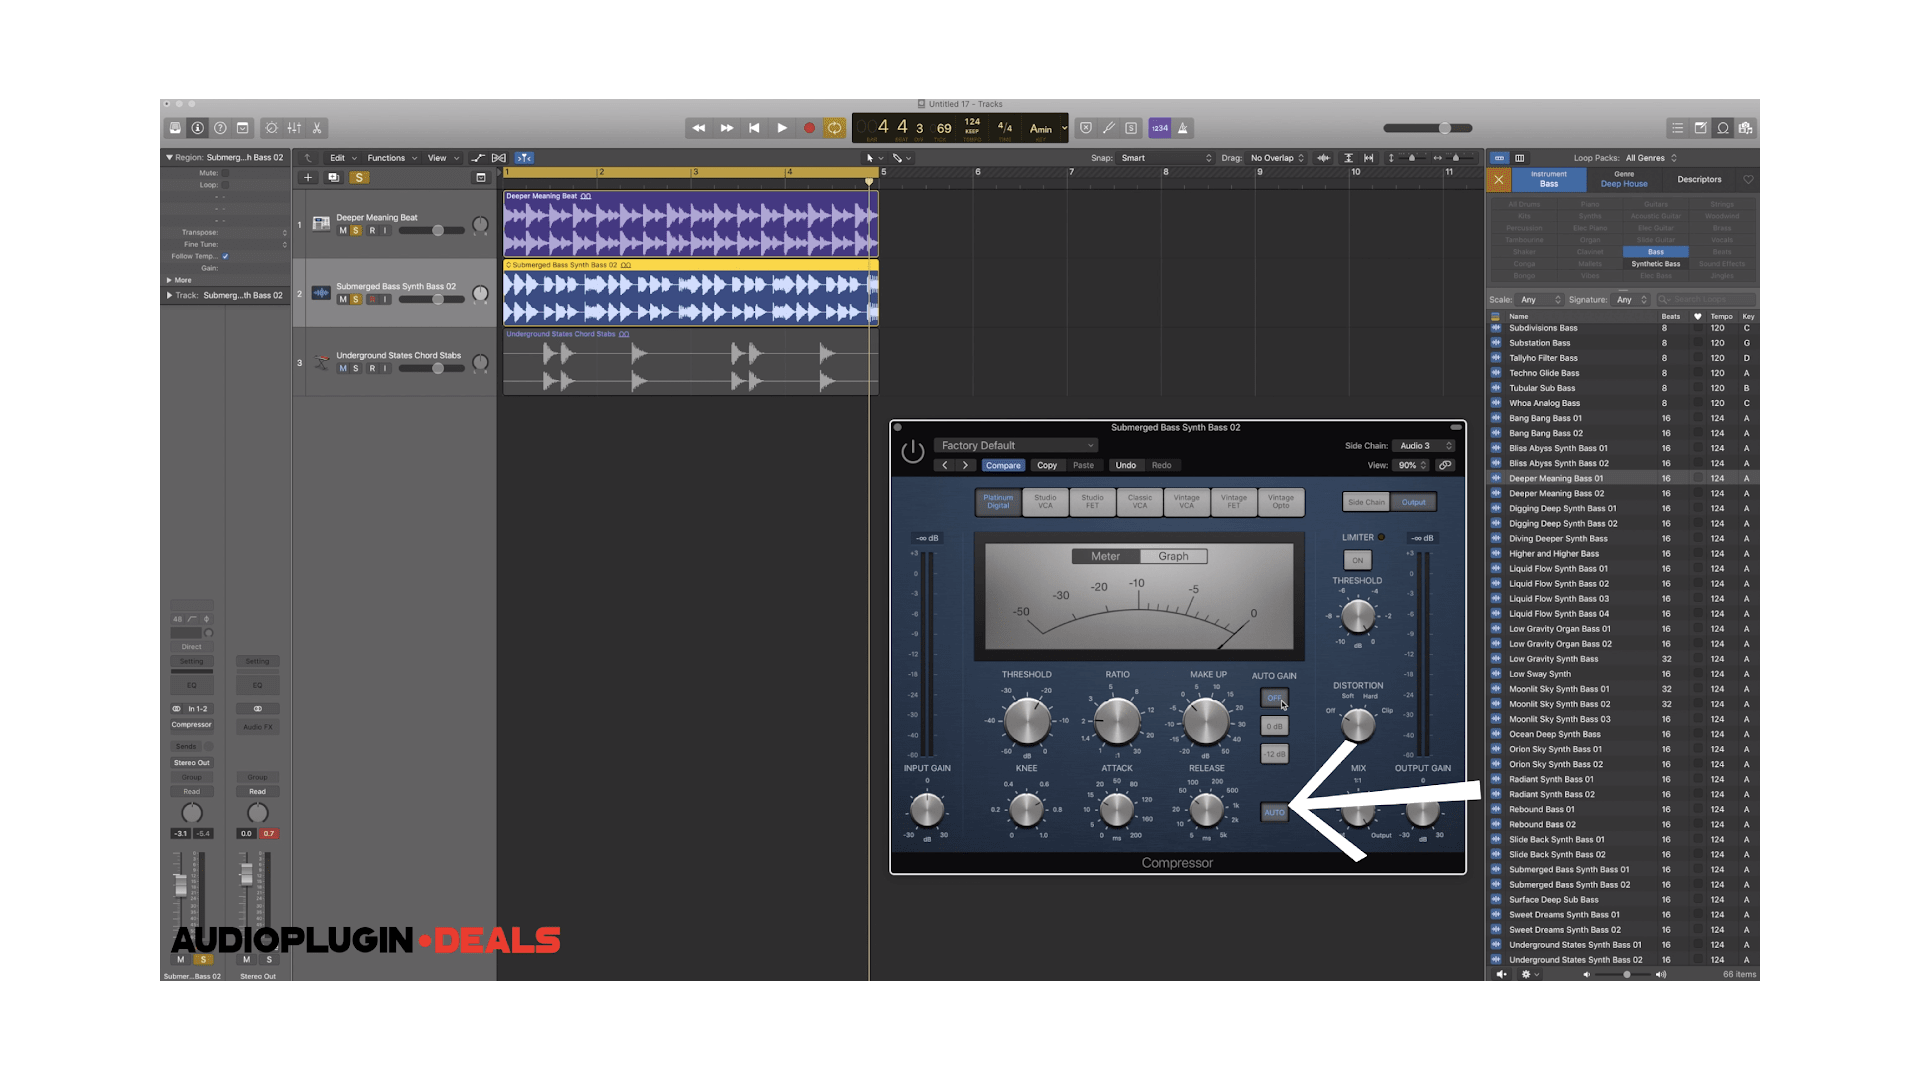
Sidechain compression is similar to regular compression in that it ‘reduces the dynamic range, but it’s set up a little differently. Instead of reducing the dynamic range that crosses a threshold, like standard compression, it’s triggered by an external source, another sound, or a group of sounds/instruments.
The Importance of Sidechain Compression In a Live Setting
Let’s say that you’re a club DJ. Your job is to get people on the floor and dance. Dance music, specifically Hip Hop, House, and EDM, are genres where the Kick (drums) is dominant and is a driving factor. This is important as generally people in the clubs are there to dance and have fun.
So you want to make sure you have a nice good Kick Drum, something with a lot of thump. Unfortunately, drunk people are not always able to find the beat, and if people can’t find the beat, they’re not going to dance, which leads to not having a good time in the club.
So the DJ has to sidechain and make sure that the Kick is easily heard and cuts through very nicely, especially with all the noise on the floor. Remember, you have people talking, drinking, laughing, and shouting. It’s very chaotic.
Not to mention that bass is swimming everywhere in the venue, so you want to make sure that the Kick isn’t clouded and the beat can be heard.
Being able to hear the beat will keep people dancing. Also, if you’re beat juggling, you’re likely matching on the 1 and or kick drums; sidechaining to make sure that Kick is clear will make the DJ’s job a lot easier.
Other Great Uses For Sidechain Compression
A classic example of sidechain compression is an 808 bass ducking in volume when the kick hits. Another would be a group of synths ducking when vocals come in.
Here are some other examples of sidechain compression usage to help you further understand the benefit of the processing technique.
Broadcasting: Often, when a DJ or radio personality is talking, music is played simultaneously in specific show segments. To ensure the personality can be heard clearly, compression reduces the music in volume when the personality speaks.
Vocal Clarity: This is similar to the example above, with the 808 talking whenever the kick hits. Except for here, synthesizers or other instruments duck volume whenever the vocal is present.
Instrument Clarity: Reverb is a vital time bass effect used to simulate or emulate space. You can help an instrument or passage sound believable. Often, it can be an overdone effect that can muddy or cloud up a performance.
To ensure instruments, including vocals, sound clear and not too washed out, sidechain compression can be applied so that Reverb ducks for the instruments come in.
Even More Great Uses For Sidechain Compression
Frequency Isolation: With frequency isolation, you have the sidechain compressor react to a specific frequency instead of the entire Spectrum.
So, for example, let’s say you have strings and brass playing together and clashing in certain areas or shared frequencies. Instead of sidechaining the instrument, just sidechain the problematic frequencies.
Sidechaining specific frequencies make for a more surgical approach keeping more of the instrument’s integrity intact.
Experiment: Try using a sidechain compressor and various aspects of the mix. The way that you sidechain kicks and bass elements may need to be different for vocals and synth elements within your song. You can even run sidechain compressors in serial if you so choose.
With this all being said, sidechain compression is an extremely popular technique in modern music, especially HIP-HOP, POP, and EDM. It’s a highly effective way to help specific instruments, such as drums, percussion, vocals, etc., consistently cut through the mix.
Setting Up Sidechain Compression
While easy to set up, sidechain compression varies from DAW to DAW in terms of process. Here are some of the most popular DAWS, in ABC order
- Ableton Live
- Bandlab Cakewalk
- Cubase
- Digital Performer
- Fl Studio
- Logic Pro X
- Pro Tools
- Reason Studios
Some Digital Audio Workstations have sidechain compression options built-in, while others require you to route and set them up manually. If there isn’t a stock option, the easiest way to do your sidechain compression is to use a 3rd party plugin. Some use a dedicated sidechain plugin even when the DAW they’re using has the option.
What Is a Sidechain Compression-Like Plugin?
Sidechain plugins are fun and straightforward software applications that you can use. Their visuals make them fun and intuitive, allowing you to see exactly what’s happening to the audio signal or how it will be processed.
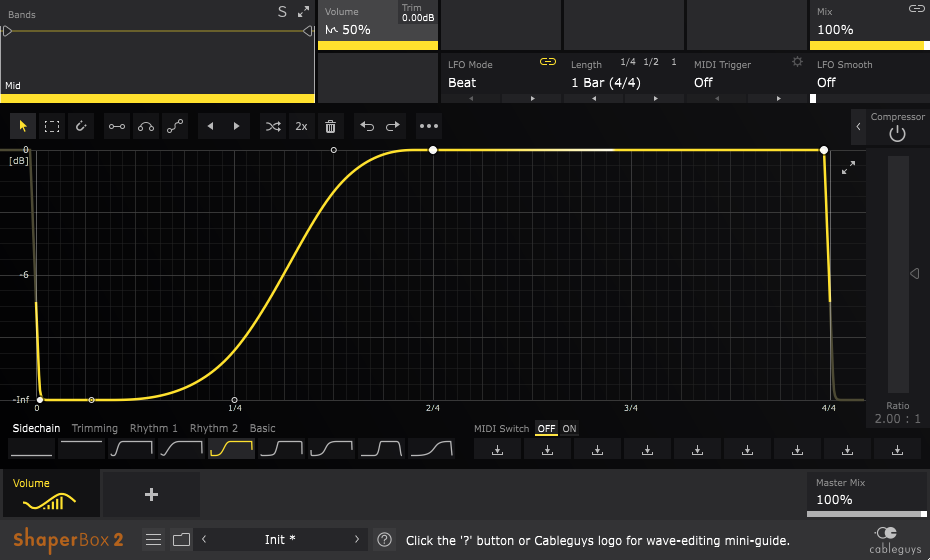
For example, some plugins allow you to draw your own curves and shapes for how the audio will be processed. That functionality opens the door for creatively and unique compression styles not present in standard compression tools. Some of the more popular sidechaining plugins, called volume shapers/envelope, are;
LFO Tools: By Xfer, the same company that makes Serum
Volume Shaper: Cableguys make this one, they also have a more robust tool called Shaper Box, but that’s overkill for volume and minor envelope-based tasks.
One Knob Pumper: As the name suggests, this simple One Knob plugin replicates the actions of sidechain compression.
Kick 2: This is another great plugin by Cableguys. Very similar to Cableguy’s Volume Shaper but with fewer tweakable parameters.
Is Sidechain Compression Necessary?
Sidechain compression is not a necessary process by any means, but it does get the job done, and it does it well. For some, sidechain compression is seen as a quick fix, and for others, it’s a must for their process in mixing, production, sound design, etc.
It works, and we can’t argue that, but there are other methods that achieve the same overall result.
Try This Instead Of Sidechain Compression
Standard EQ
Standard EQ can work wonders for making space for clashing instruments. Concerning kick and bass relationships, specifically, given this is one of the main reasons why people sidechain, so the two can coexist.
Carving out a notch for one or the other does quite well. Also, I find that sidechain compression can be avoided altogether by carving a small hole in the bass for the kick to fit into does the trick nicely.
Dynamic EQ
While EQ can be used to boost or cut specific frequencies, dynamic EQ takes things one step further by allowing those boosts and cuts to happen automatically in response to the signal level. This can be extremely useful for taming rogue frequencies or enhancing them to add clarity and punch.
Dynamic EQs work as an EQ but also have some compressor-like characteristics such as settings attack, release, threshold, etc. Some have more in-depth settings as well, such as but not limited to saturation and distortion.
Ok, So When Do You Use Dynamic EQ?
Given that the main difference between the two is that the Compressor allows you to act on dynamic information (volume) and the EQ gives control over frequency-specific details, you’d want to use the Dynamic EQ when you want to make room for instruments via sidechaining but with precision, less pumping, and more transparency.
This is not to say that every sidechain compressor introduces noticeable pumping. Still, there are times when unwanted pumping occurs, or the compression diminishes the sound altogether because it’s acting on the entire spectrum vs select frequencies.
Let’s take a vocal for our primary example. S’s t’s and harsh consonants can be ear-piercing to the listener. Of course, you can use static EQ to carve out these harsh frequencies, but this will carve that frequency out for the duration of the entire song and might not be something you want.
But This Is Why We Use A De-SSER!
The De-Esser is a typical tool for getting rid of harsh S and T sounds, but there are times when a De-Esser can be a little heavy-handed, and the process can result in a dull sounding vocal.
If you don’t mind spending time, you could automate in EQ to attenuate frequencies where these harsh asses and tease reside. This works great and can be more accurate in the end, but it’s a lot work. It’s much easier/faster to dial in with a Dynamic EQ.
Great Dynamic EQs You Should Have In Your Arsenal
No, you won’t need all of these EQs. Instead, pick one or two if you’re crazy like me, and keep things moving!
MDynamicEQ By MeldaProduction
I can’t say enough good things about MeldaProduction. They have excellent low CPU usage / efficient plugins that are amazingly transparent and give the user insane control over their sound. Melda’s MDynamic EQ is efficient and very flexible, with great extended features such as
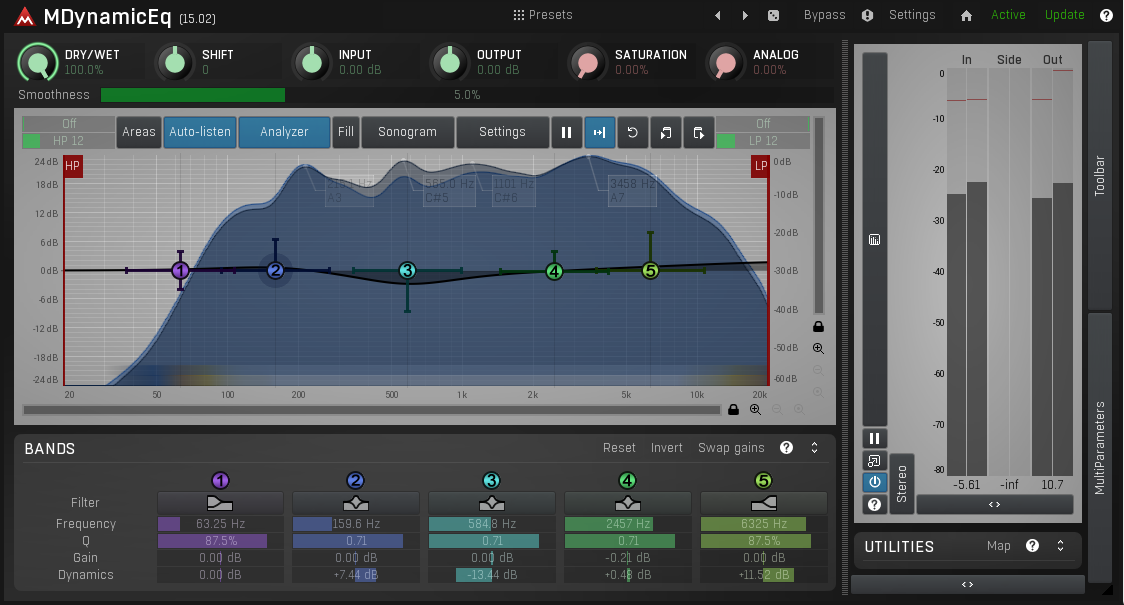
M/S: Short for Mid-Side processing, is a technique used to process both the mid and stereo channels (L/R) separately.
L/R: Is short for Left and Right, corresponding to the stereo field
Or any combination of the M/S and L/R; it’s incredible.
This becomes highly beneficial when you start running into prominent issues in areas other than the mids.
A full list of features can be found here
NOVA by Tokyo Dawn Records (Free)
Tokyo Dawn makes some great plugins. One of my favorites is NOVA, their dynamic EQ. NOVA is 4 Band EQ with both high and low pass filters. It has a very intuitive interface that makes getting around on it easy.
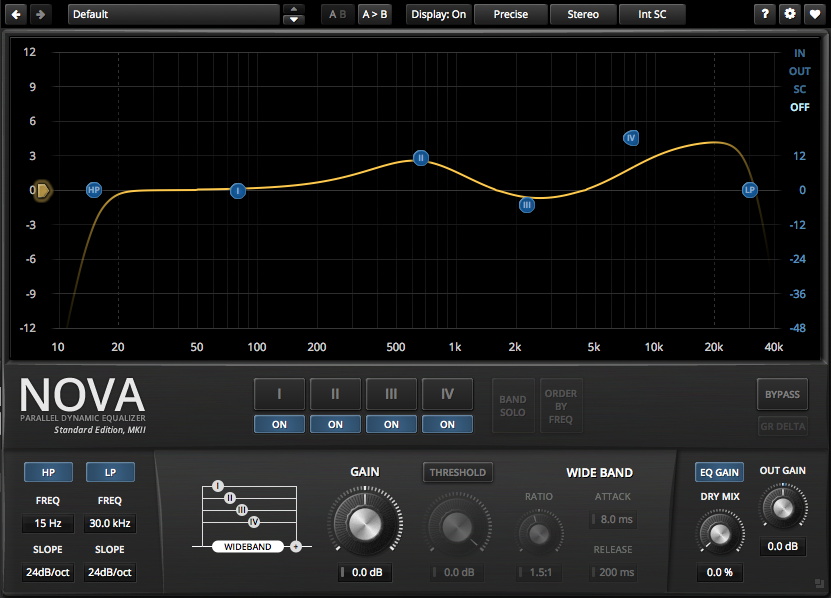
In addition, the plugin comes with a set of presets that cover a wide range of genres, so you can start shaping your sound immediately. And if you want to get even more creative, you can create custom presets.
I also love the ability to re-order the EQ bands. Simple, I know, but very effective in use.
What’s The Difference Between A Dynamic EQ and Multiband Compressor?
Both Dynamic EQs and the Multiband Compressors work similarly, with minor differences. However, Multiband compressors have different filters and operate on broader frequency bands than the dynamic EQ.
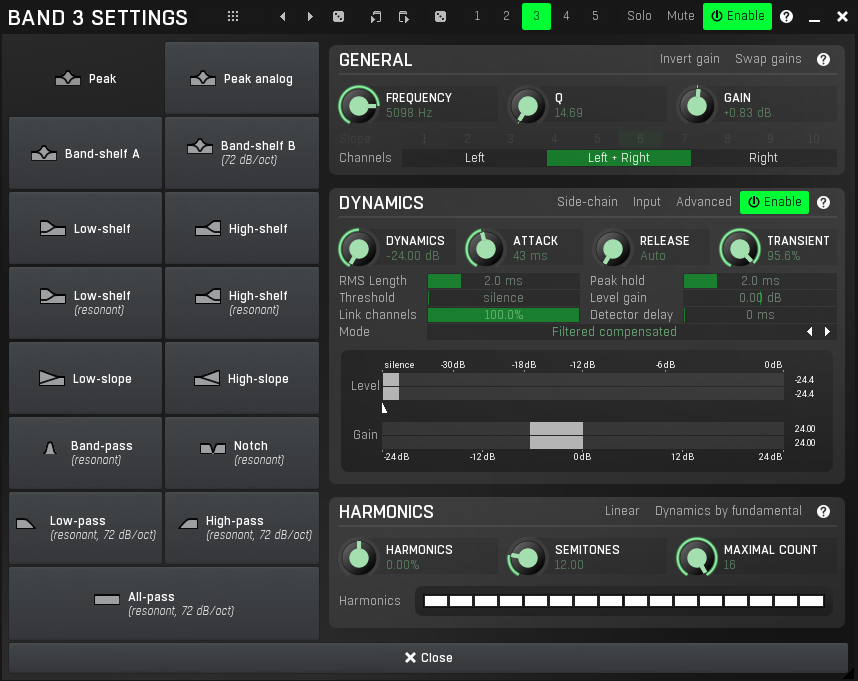
So it’s fair to say that a multiband compressor is a compressor with some EQ functionality. The Dynamic EQ is similar to a compressor but more like an EQ and has more precision regarding how it affects frequency bands and information.
The results are very similar, if not the same depending on who you ask, but what it boils down to is the flexibility and transparency of the EQ and Compressor. The EQ tends to be more flexible and transparent in the end, making it a favorite tool or option amongst many.
More details? Sure, No Problem.
Multiband Compressors
- Often uses steep crossover filters and splits the bands before compression occurs by default.
- Dynamic controls such as; attack and release tend to be more precise Compresses/squash the sound up better, it is a compressor, after all.
- Have the ability to boost frequencies if they have an expansion feature. Not all MB compressors have this.
Dynamic EQ
- Doesn’t affect the signal until the threshold is hit via the frequency bands.
- Flexible with the shape of the filter. All standard filter shapes are game. Some EQ’s will let you hand draw your own if you choose.
- Manageable Q settings as well as custom filter shapes for some EQ. Yes, some will let you hand draw your curves!
Works better for correcting spectral issues with fewer artifacts, if any.
Making The Right Sound Choices
No, it isn’t always fun and can be time-consuming. However, when quality time is spent choosing the right sounds, less time is spent in the editing and mixing department, and the sooner you can move into creative mixing or your next product, depending on how you like to work.

Skimping in the sound selection area will set you up for a lot of editing, correcting, and mixing. This often comes with a lot of plugins being thrown on channels compensating for anomalies other plugins have caused or adding things that the original sounds lack.
When you have two or more sounds that occupy the same frequency and need to play together, decide which is the most important sound and allow the others to aid it or live predominantly in different frequency spaces so they are present but do not clash.
For example, the relationship between your kick and bass would serve well to allow the kick to take the knock part while allowing the bass to tackle the low end. Or sometimes, the kick is the feature, while the bass is represented more in the higher frequency range, depending on the genre. They don’t need to share the same space; this is how mud and clashes are created.
FAQ Regarding Compression, Sidechaining, and EQ
EQ Before Or After Compressor?
Using an EQ, first caters to a warmer sound. Compressing first offers a bit more clarity. Both options are acceptable. Test the order of each within your signal chain and choose the one that sounds best for you.
Sometimes you might find yourself stacking multiple EQs and Compressors in the same chain.
Where Should I Use Dynamic EQ?
Dynamic EQs are excellent for use during your song’s mixing or mastering stage but flexible enough to use on individual or bus channels. They can also be used quite effectively in fx of shaping purposes. Feel free to experiment.
Are All Dynamic EQs The Same?
Dynamic EQs vary in features, sound quality, as well as accuracy because different companies create them. Some are indeed better than others, but all roughly do the same thing in theory.
Why Do Producers Always Sidechain Bass To Kick?
Sidechaining is a popular technique amongst music producers as well as engineers, and it’s a quick and effective method of making room for sounds.
Are De-Essers and Compressors The Same?
De-Essers are compressors that attenuate the upper-frequency range. With that in mind, if the Compressor has brand-splitting capabilities or a sidechain feature, it can be used in place of a De-Esser to control harsh t and s sounds.
What Is Ducking Reverb?
Ducking Reverb refers to sidechaining. This is the act of making the reverb drop in volume when another sound, like a kick, snare, vocal, or instrument, plays. It’s done so that reverb doesn’t crowd sections of the mix.
Conclusion: To Sidechain or Not to Sidechain
So there you have it, different options for obtaining a cleaner mix, either by sidechaining or using alternatives to sidechaining. Which to use will ultimately come down to what you need, what the song needs, and what problematic issue(s) need to be fixed.
As a good rule of thumb to follow = don’t use anything you don’t need to. So, if you can get away with not using Dynamic EQ, Sidechain Compression, or Sidechaining in general, then do so.
Also, respectively, sidechain when needed. Do whatever you need to do to get the desired results. There are no rules, only tons of options.
Explore, create, and have fun.
If you use a specific method to clean up your mix/ make room for instruments that give you similar results to sidechaining, please let us know in the comment section below.
If you’ve found this post beneficial in any way, please share it!
About the Author: Greg Savage is a music producer/sound designer with over 20 years of experience in the field. For information on music licensing and mentoring, please visit https://www.diymusicbiz.com/
